Max R. Lehfeldt, M.D.
Board Certified Plastic Surgeon
-
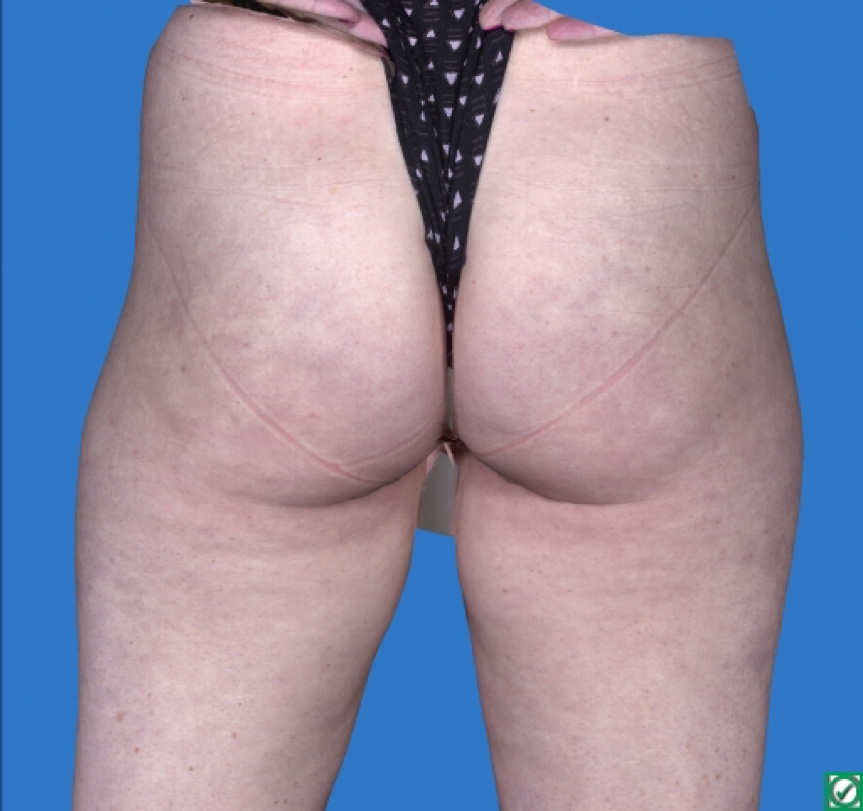
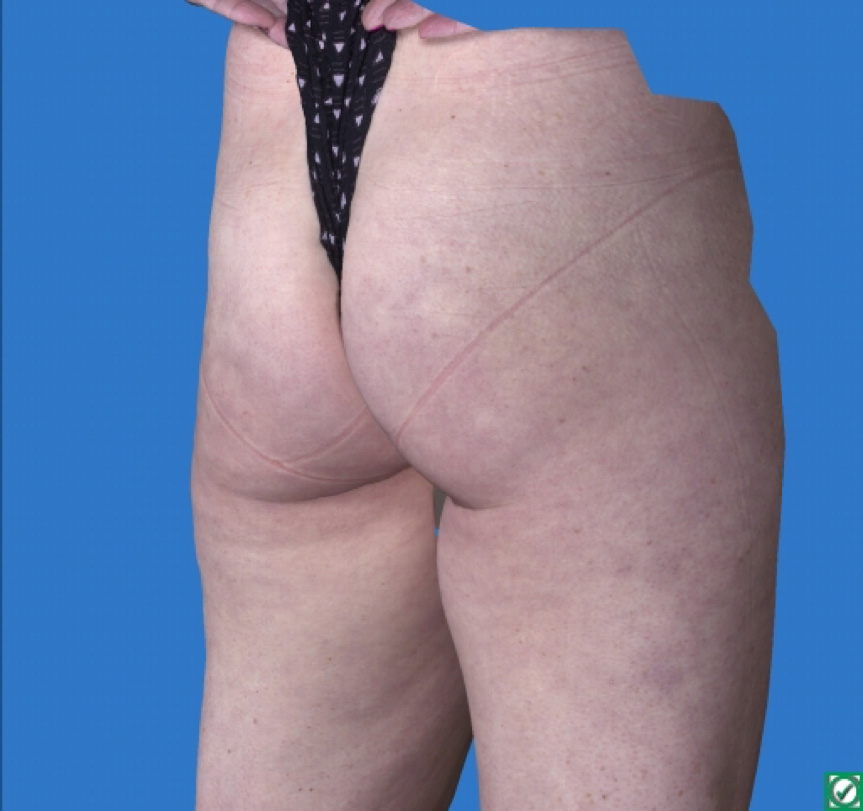
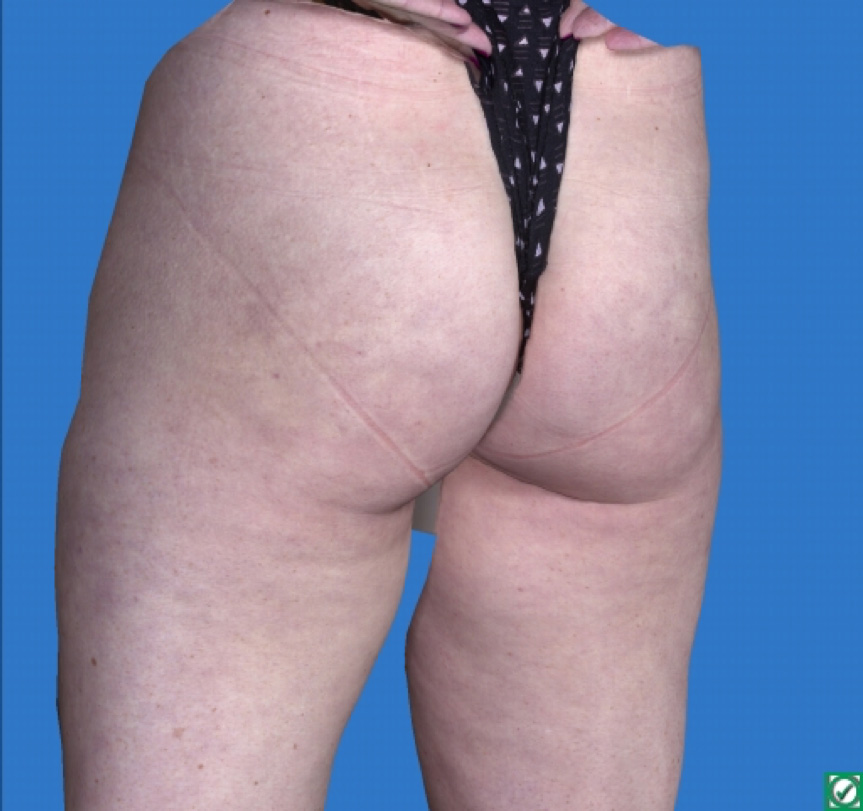
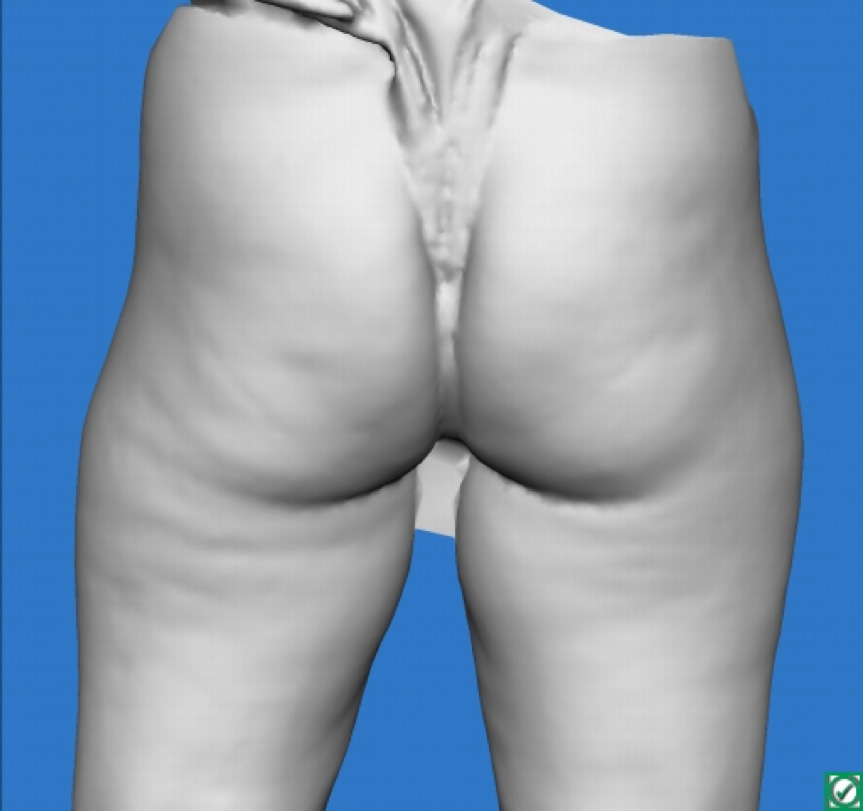
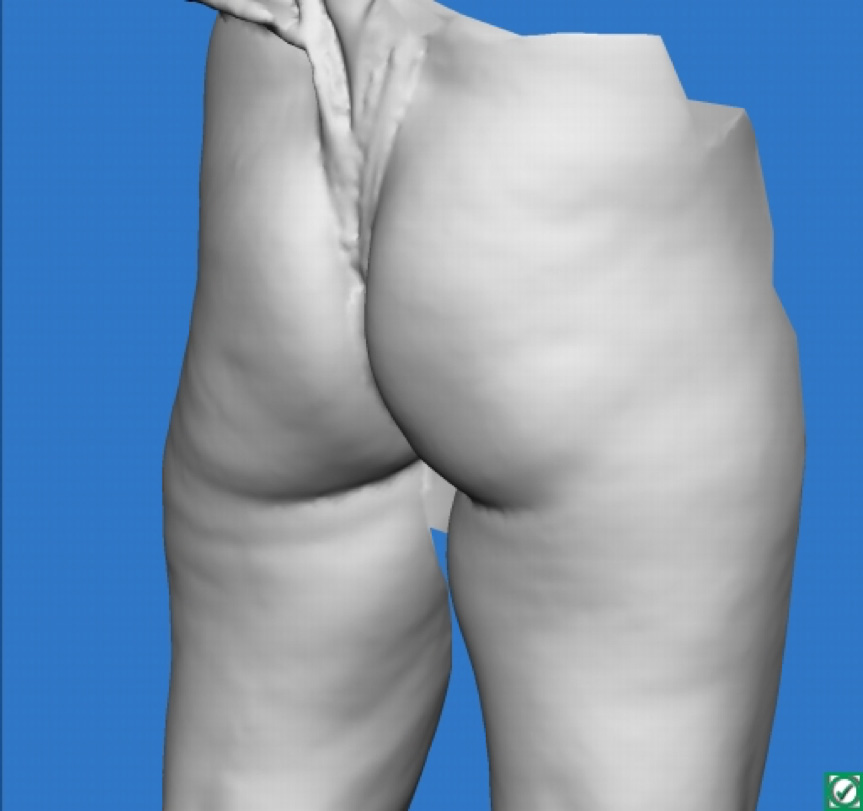
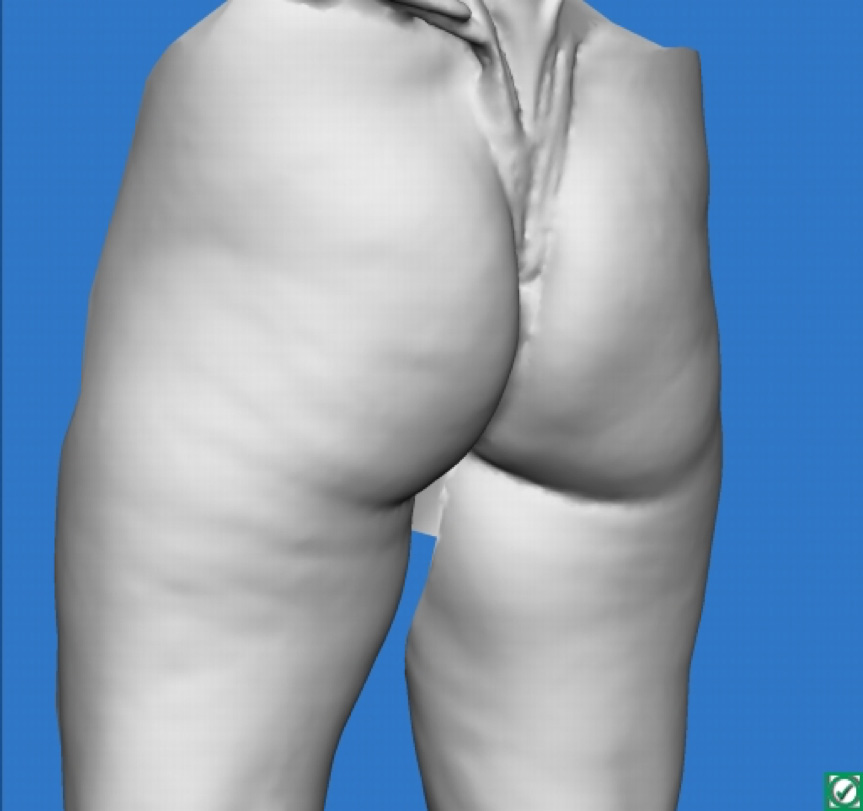
Patient 1
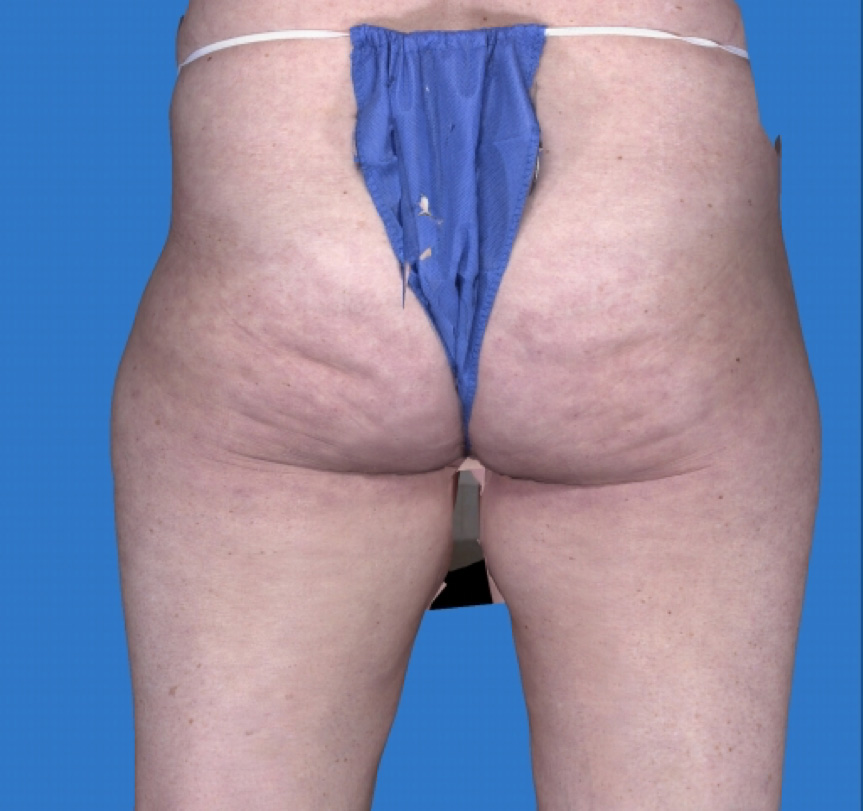
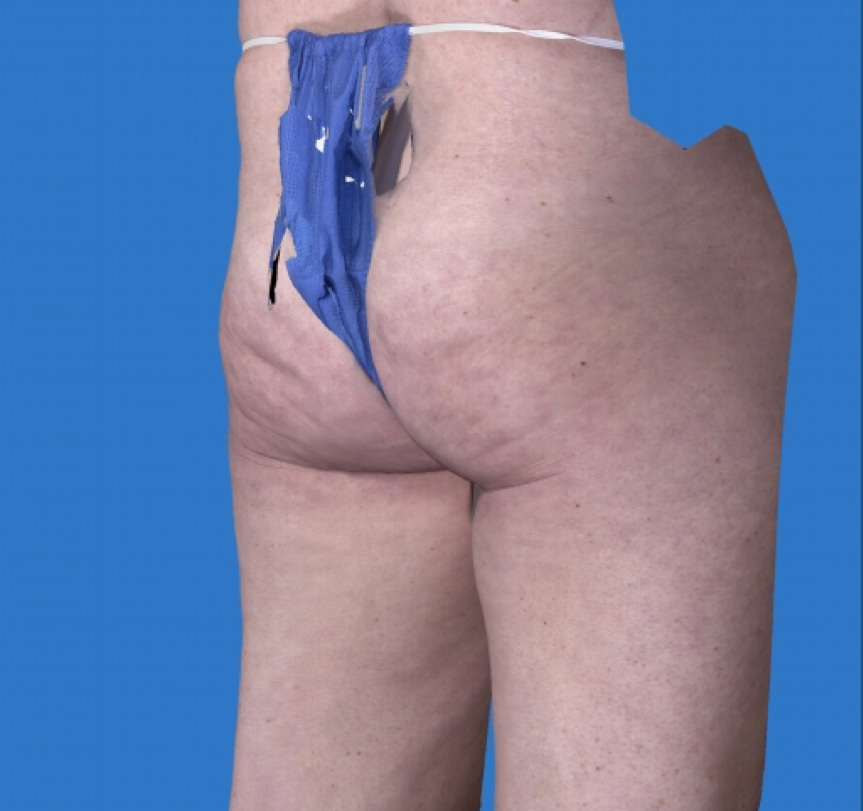
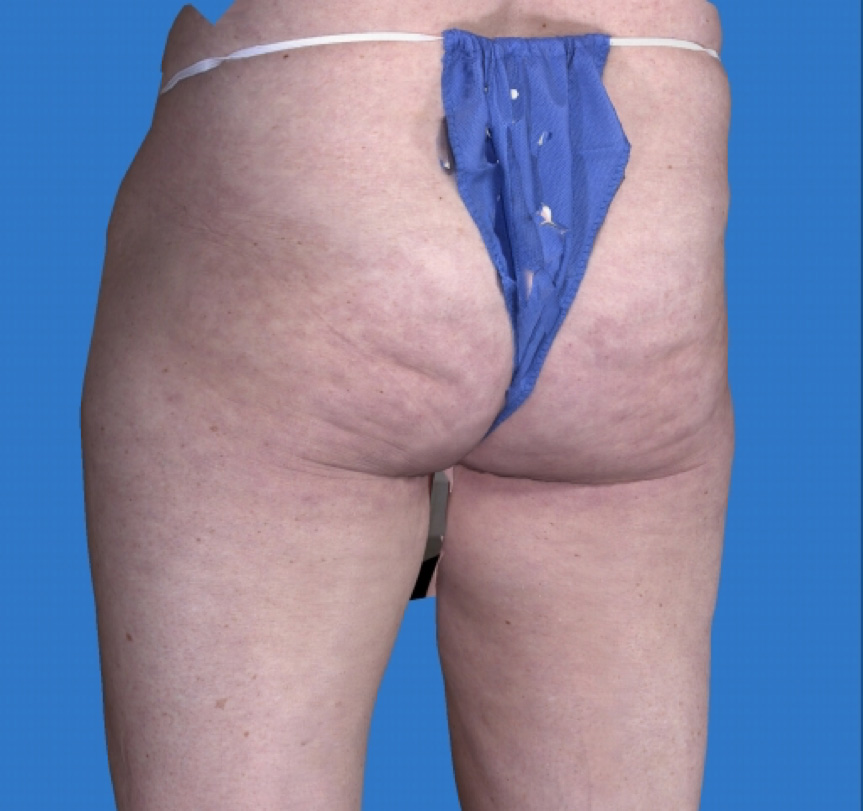
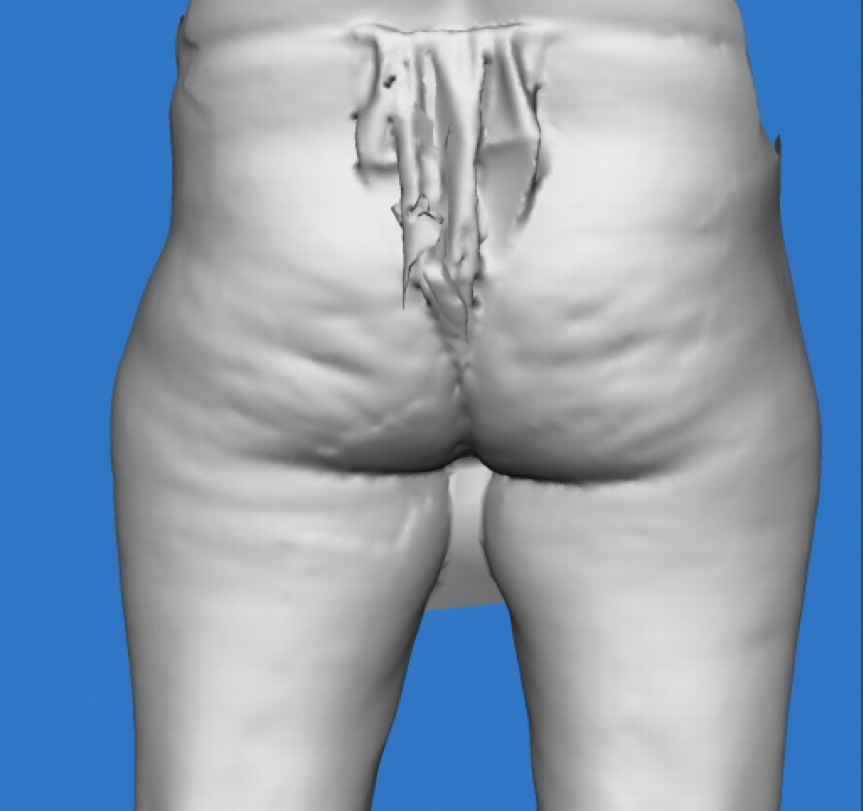
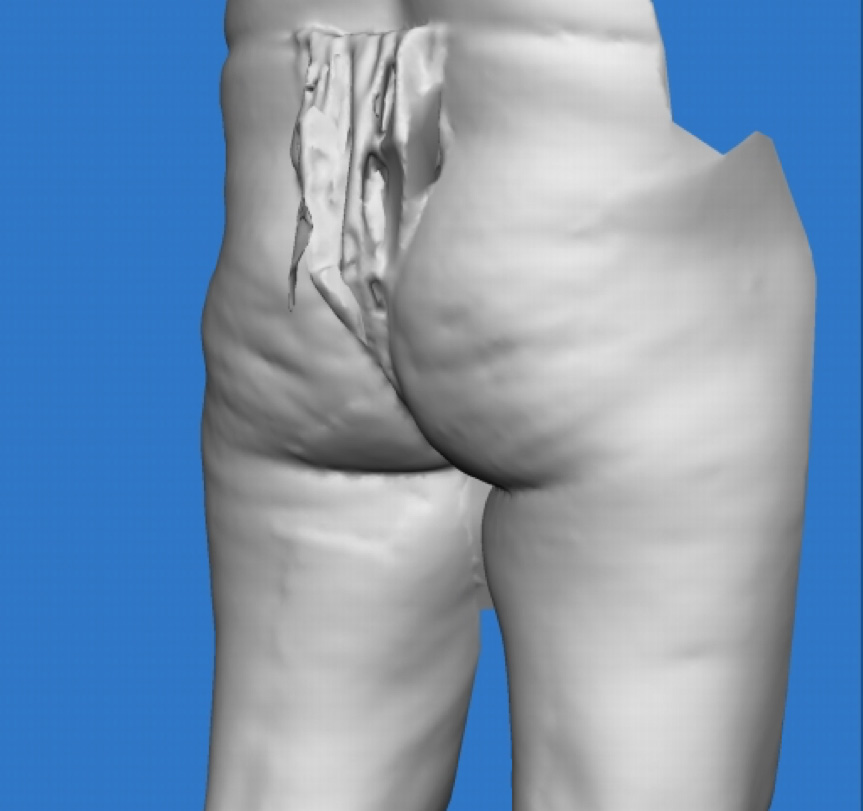
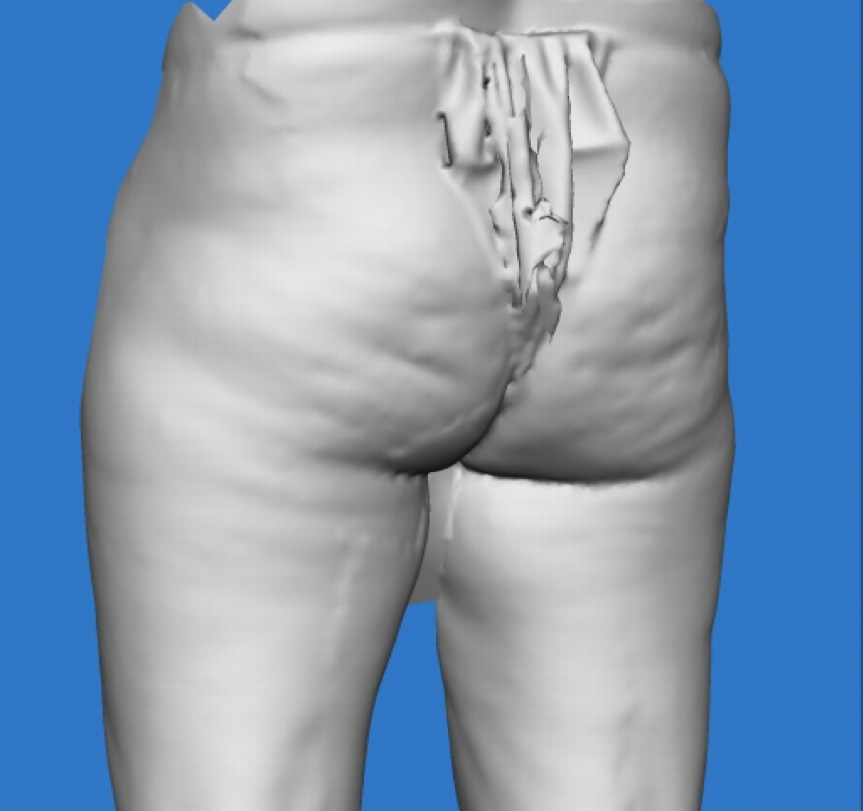
 BeforeAfterDetails:
5 Month Post Treatment
*Individual Results May Vary